

A red zigzag handle and a sweeping blade
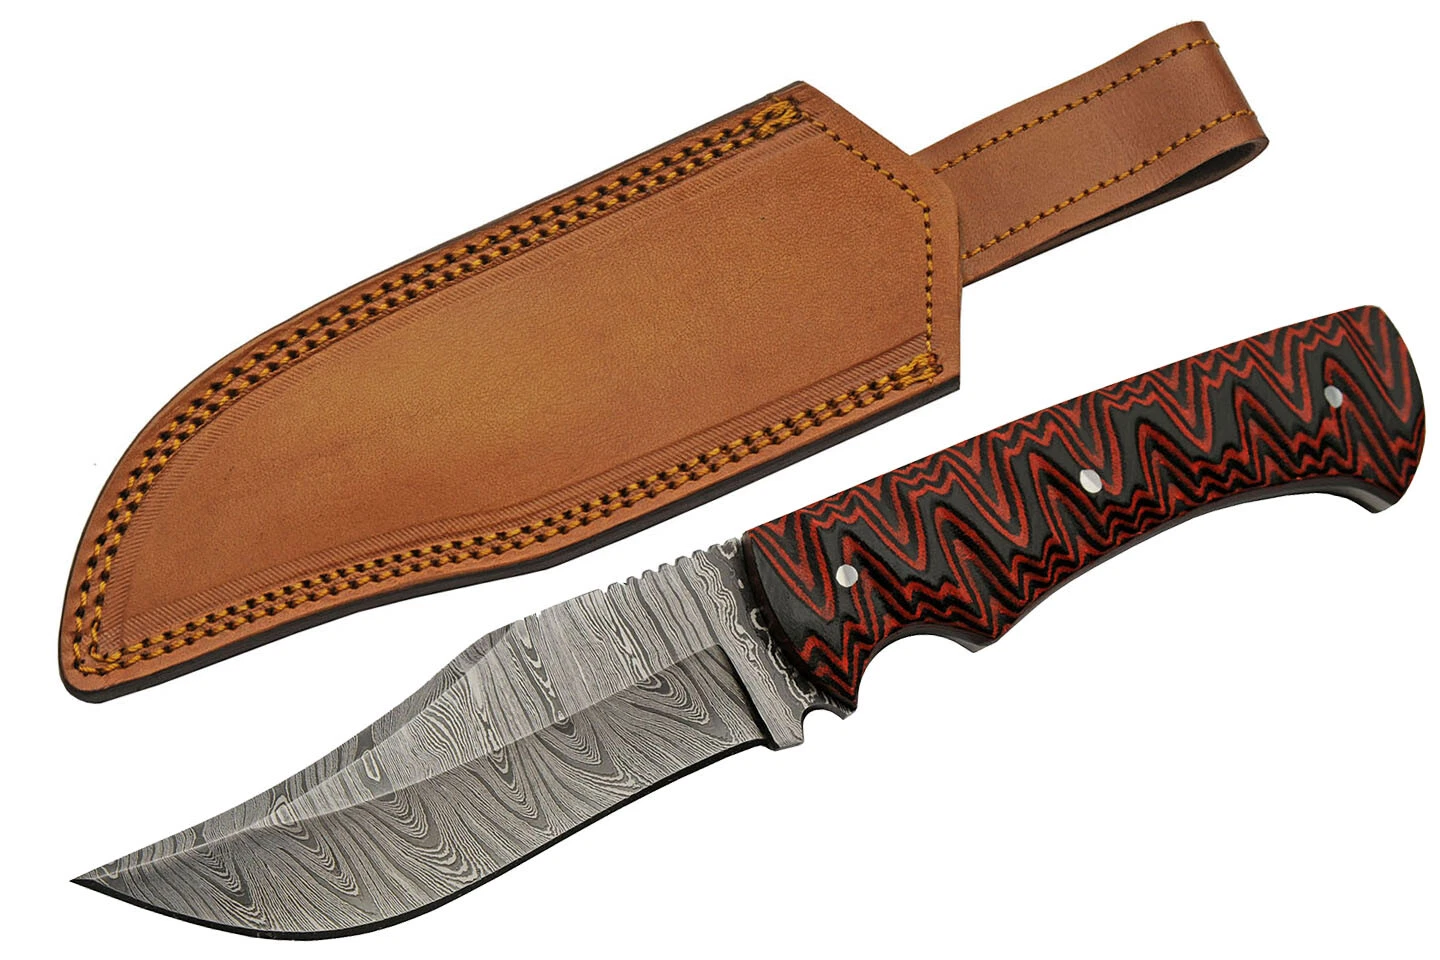
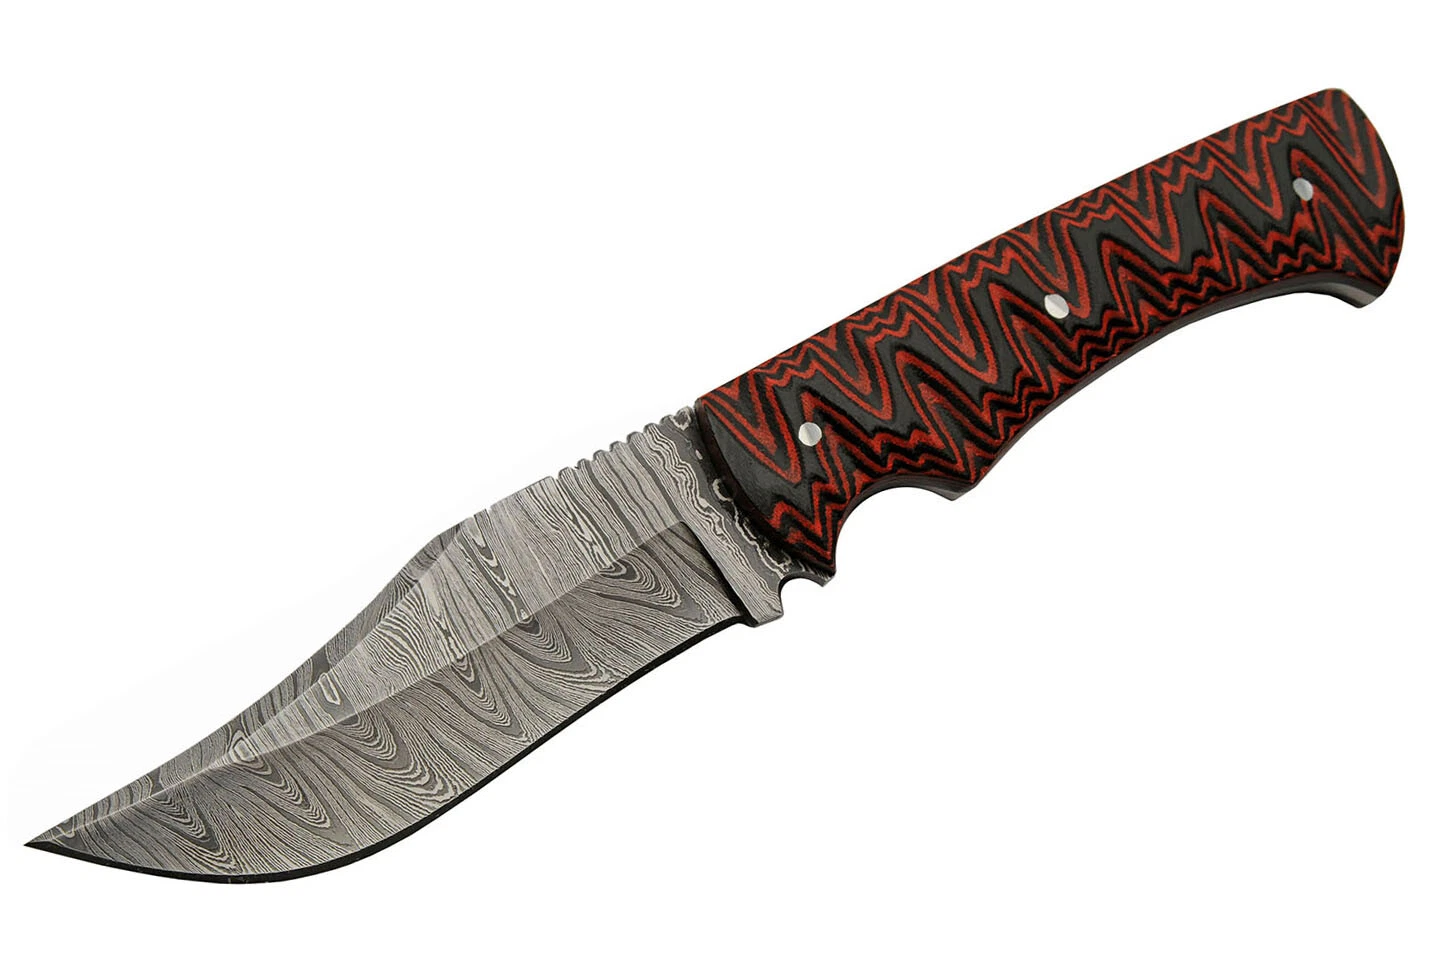
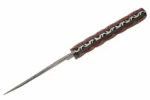
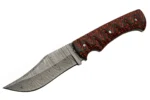
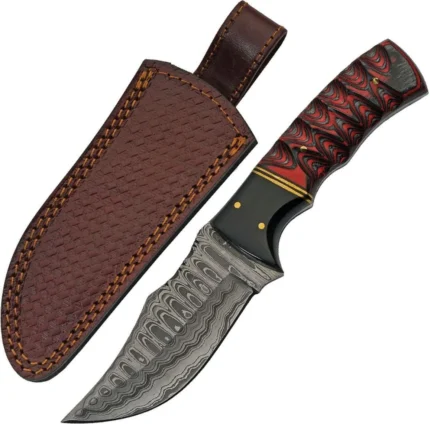
This red zigzag fixed blade knife pairs two patterns with very different characters. Across the black handle, red lines rise and fall in sharp peaks. Across the gray blade, fine silver-colored lines bend into soft, nested curves. Three round silver-tone pins punctuate the grip, and a short row of notches marks the spine just ahead of the handle. The knife is pictured beside a tan stitched sheath with an extended loop.
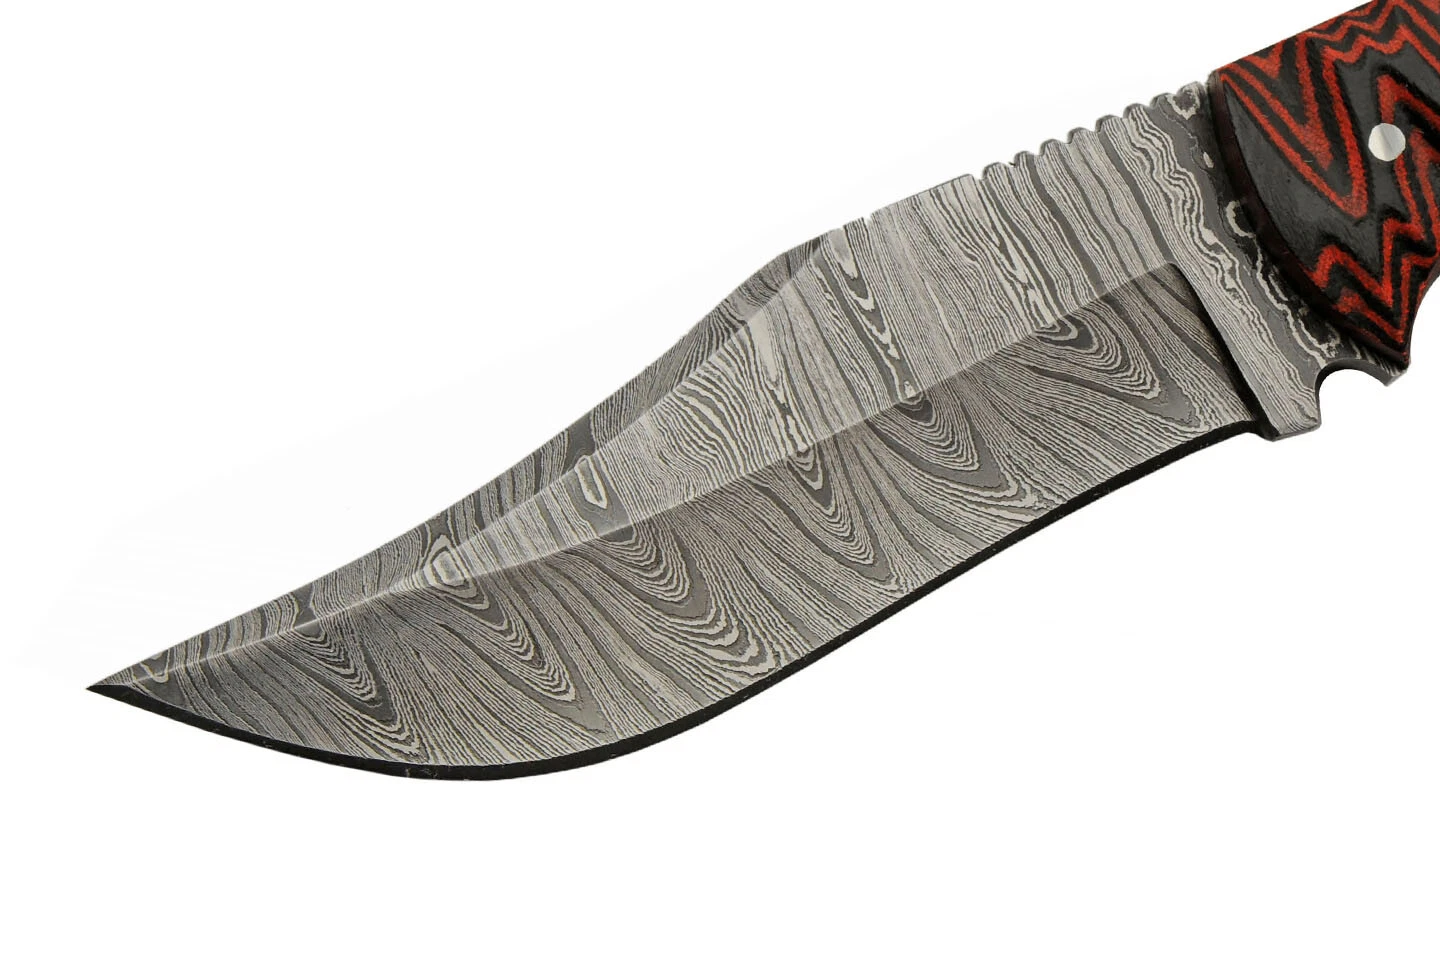
The blade has a broad face, a pointed tip, and a continuous curved cutting edge. Its lower edge sweeps outward through the front portion, while the rear of the blade meets a pronounced recess beneath the grip. The result is an outdoor-style fixed blade with a recognizable outline and plenty of surface area to show the pattern. For a collector, the side view is particularly appealing: you can see the handle artwork, the entire blade profile, and the way the lines change direction across the bevel.
The most distinctive detail is the color distribution. This is a predominantly black handle traced with red, rather than a red handle with a few dark accents. If you prefer a darker knife but want more visual interest than a solid grip offers, that distinction makes this version worth a closer look.
How the red-and-black handle pattern changes along the grip
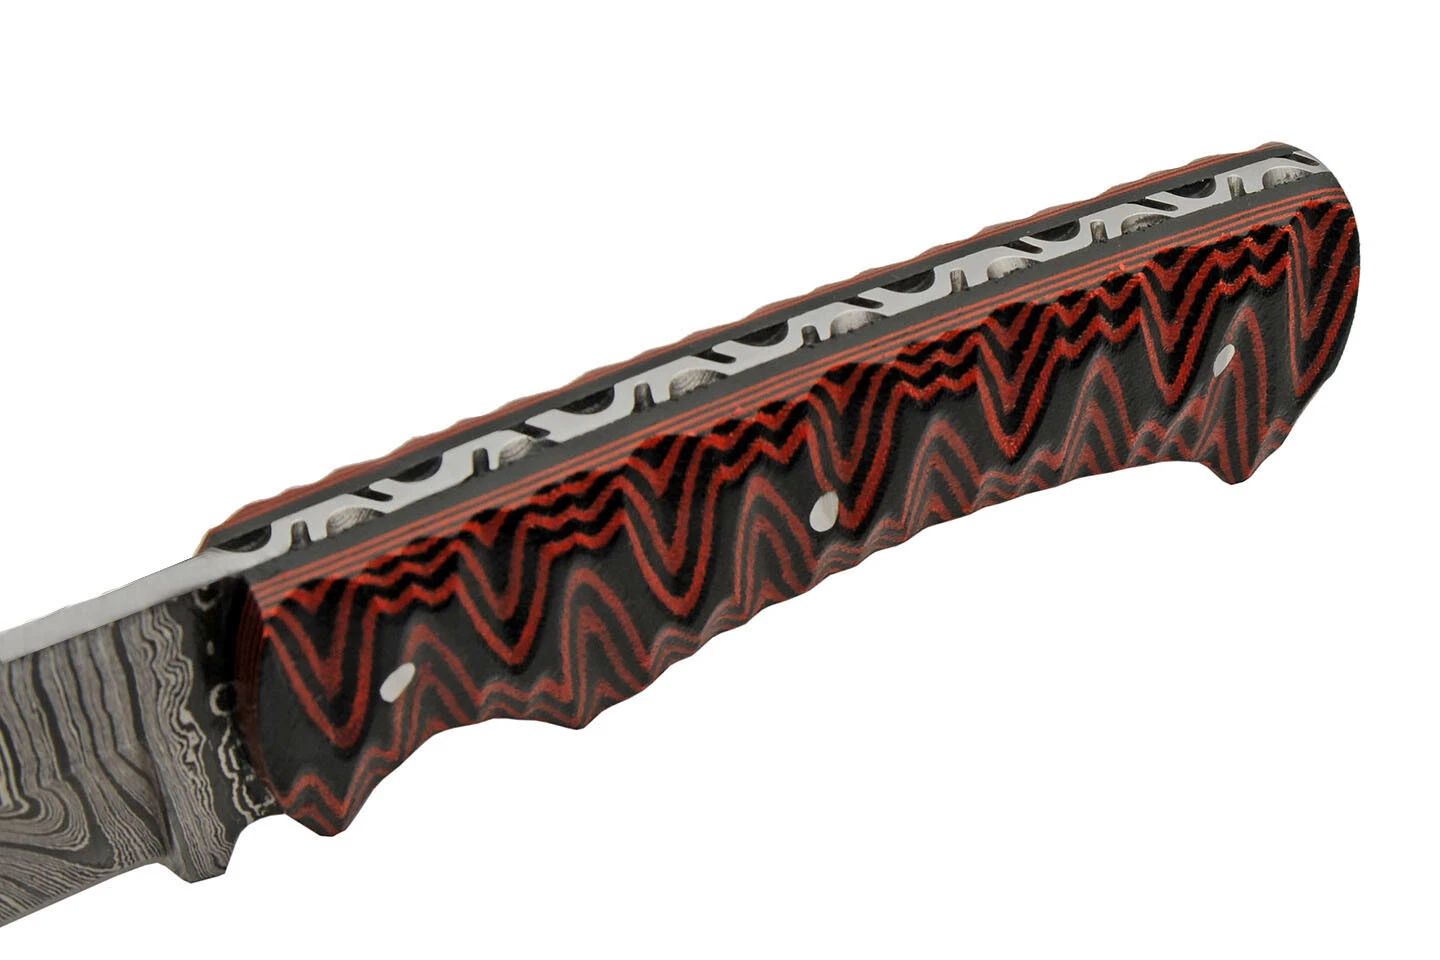
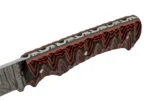
Near the blade, the red lines form compact, angular peaks around the first silver-tone pin. Through the middle, the peaks grow taller and open into broader black spaces. Toward the rear, one large zigzag follows the widening handle before turning down toward the rounded end. Smaller red lines sit inside some of the larger shapes, so there is more to the design than a single repeating stripe.
The markings continue nearly to the handle perimeter. There is no separate badge, visible lettering, or large bolster competing with them on the photographed face. This gives the pattern room to follow the shape of the grip itself. Where the underside curves inward, the red lines appear closer together; where the rear broadens, the larger black sections become easier to see.
For someone comparing several red-and-black knives, this is a useful identifying feature. A straight laminate stripe, a red spacer near the blade, and a black grip fitted with red pins can all be described as two-tone handles. None produces the pronounced chevron-like appearance shown here. Look for the nested peaks across the face and the three pale pins when identifying this specific design.
The photograph establishes the colors, but not the handle material or how the pattern was produced. It would be misleading to identify it as G10, Micarta, wood, or resin from appearance alone. If the visual design is your priority, the image is informative. If you collect a particular handle material, ask for the maker’s specification for this exact knife.
Three silver-tone pins and a defined front finger recess
One circular pin sits just behind the blade, a second is positioned near the middle of the handle, and a third lies toward the rear. Their simple silver-colored faces work well against the angular red pattern. Each pin gives the eye a clear point of reference without covering much of the grip. No cord or lanyard opening is visible on this side.
The underside is shaped rather than straight. Immediately behind the blade is a deep front recess. Its rear edge rises into a small point before transitioning into a longer, gentler curve through the main grip. At the far end, the handle broadens and turns down slightly. A narrow dark rim is visible along part of the underside, particularly near the butt.
This shape is worth considering if you have a preference about finger grooves. Some knives have several evenly spaced recesses that define a position for each finger. Here, one pronounced front recess does most of the shaping, while the rest of the grip is comparatively open. It is a visible design difference, although comfort still depends on the actual length, width, and thickness of the handle.
If you already own a fixed blade that fits your hand well, compare its usable grip length and the position of its front recess with this one. Overall knife length is less helpful for that purpose. Two knives can be the same length from tip to butt yet place the front of your hand quite differently. The visible pins also do not, by themselves, establish full-tang construction.
The wave pattern across the blade face
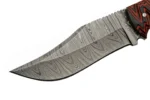
Look closely at the blade and the lines take two forms. Near the spine, many are narrow and relatively straight, passing across the upper face in close bands. On the lower bevel, those bands bend into longer nested shapes. Some appear almost triangular, with fine gray lines following one another toward the cutting edge. The transition is especially noticeable through the wider middle portion of the blade.
That change gives the blade depth in the photograph. You can distinguish the broad bevel without relying on a painted line or contrasting logo. The pattern remains visible as the blade narrows toward the tip, where there is less space for the wider shapes. At the rear, the lines crowd together near the shoulder and the short spine notches.
The surface has a Damascus-style appearance. That is a description of the visible pattern, not confirmation of pattern-welded Damascus steel, a layer count, or a particular alloy. If you like the look of flowing gray bands, the photograph shows that feature clearly. If the method of manufacture is part of the value for you, obtain the material specification before choosing this knife on that basis.
For display, the blade pattern is more understated than the handle artwork. From across a room, the red peaks will be easier to recognize. At closer range, the finer lines on the bevel become the more intricate detail. The appeal is that the knife offers both scales of pattern without adding more colors or a large emblem to the blade.
A plain cutting edge and notches along the spine
The main edge forms one uninterrupted curve between the heel and the point. Its forward section has the fuller belly, while the part nearer the handle follows a shallower line. There is no visible gut hook, stepped cutting section, or row of serrations along the lower edge. Buyers looking specifically for a plain-edge profile can distinguish it from those alternatives in the product image.
The notches are on the opposite side. A short run appears on the spine close to the grip, well behind the tip. They change the upper outline in one small area without turning the entire back into a toothed profile. They should not be confused with a serrated cutting edge or advertised as a functional saw.
At the heel, a small downward projection sits in front of the handle recess. That detail is easy to overlook because the red artwork draws attention toward the grip. It matters when comparing outlines: a knife with a similar blade pattern but a different heel or a deeply hooked tip is a different design, even if its colors are close.
The tan loop sheath shown in the photograph
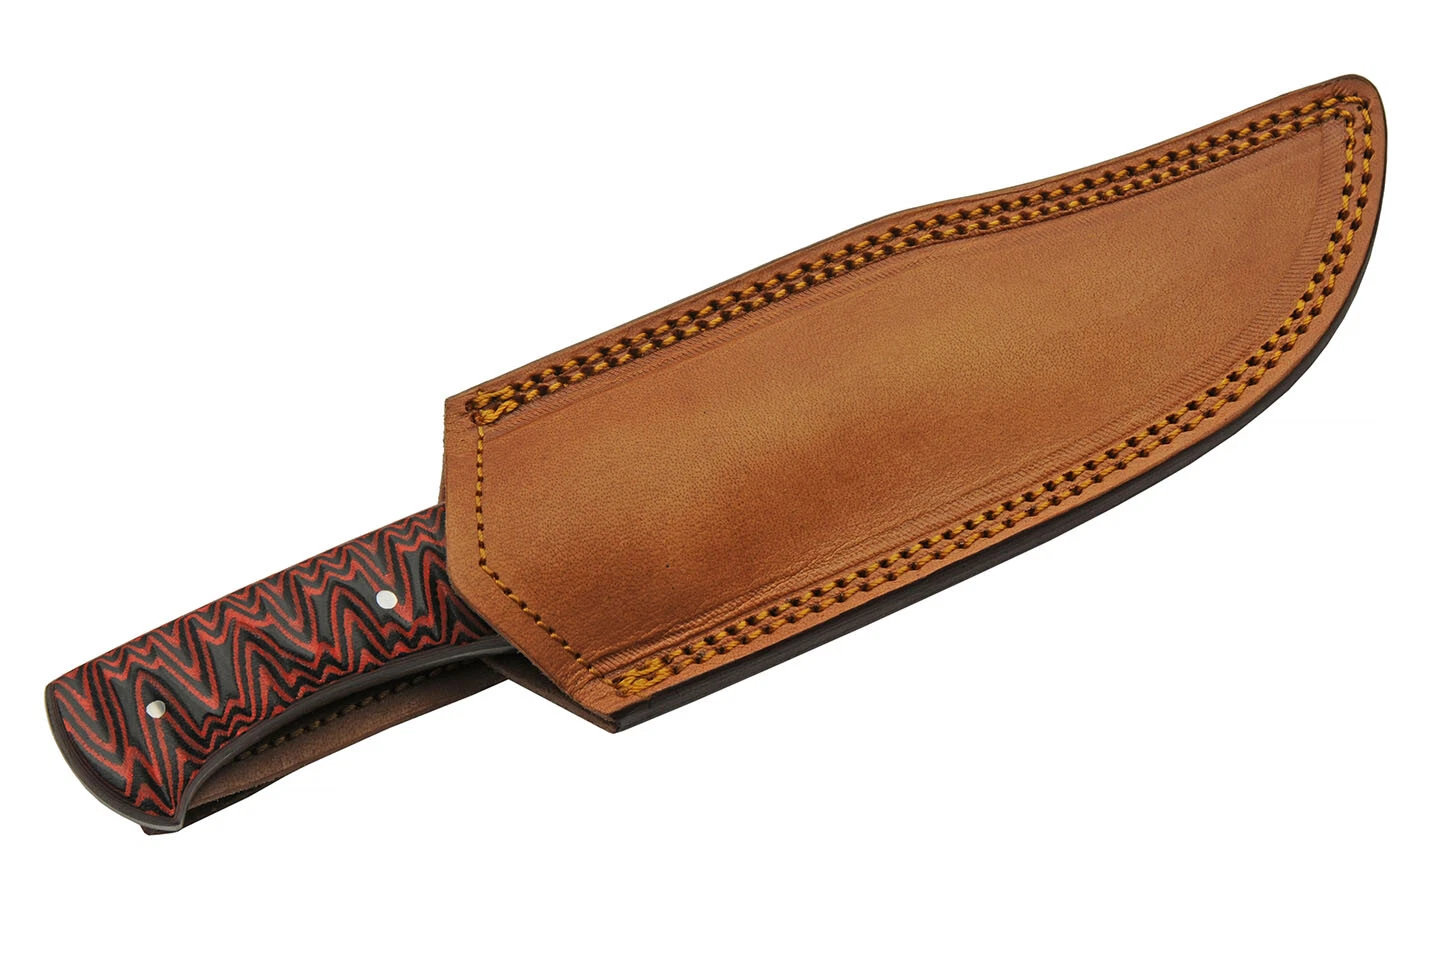
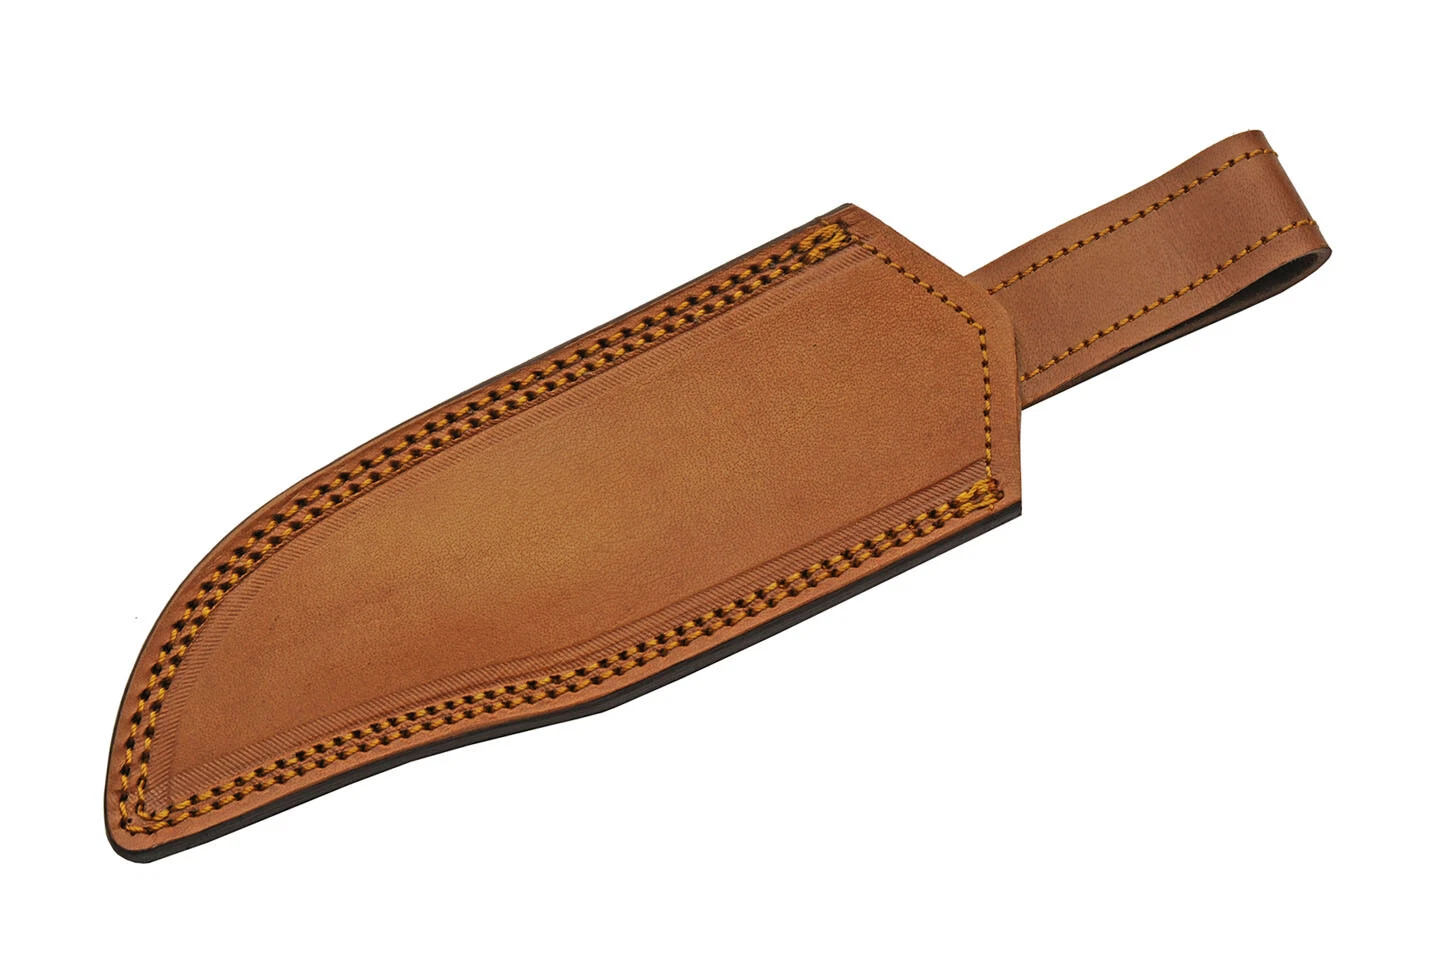
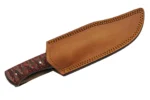
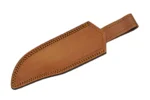
The pictured sheath has a warm tan-brown face, a dark perimeter, and contrasting stitching along its outer edges. A narrow impressed border runs just inside the stitching and follows the curved lower outline. At the wider end, an extended loop projects beyond the body. The loop has stitching along both sides, and there is no visible snap closure across the front.
The knife and sheath are laid out separately, which lets you inspect details that would otherwise be hidden. The sheath has one uninterrupted tan face rather than a printed picture or large metal fitting. Its darker edge echoes the black in the grip, but the lighter front provides enough contrast to make the outline easy to see.
The sheath is pictured; its inclusion in the sale is not confirmed. The photograph also does not establish genuine leather, the loop’s internal width, or the fit of the knife inside it. If you are buying specifically for the combination shown, confirm that the package includes this tan, stitched, loop-style sheath rather than a different accessory.
For use with an existing belt, the important measurement is the usable opening inside the loop, not the overall length of the extension. For blade fit, a photograph with the knife seated in the sheath would show where the handle meets the mouth and how much of the grip remains exposed. The supplied image is valuable for appearance, but it does not answer those compatibility questions.
Choosing the knife for a collection or display
This design suits a collection organized around handle color, blade pattern, or fixed-blade profiles. If several knives in your collection have natural brown grips, the angular red artwork introduces a visibly different style. If your collection already contains brighter pieces, the black background keeps this one from reading as a solid block of red.
The display angle makes a difference. Viewed side-on, the knife shows the three pins, the front finger recess, the spine notches, and the broad patterned bevel all at once. A display that conceals most of the blade leaves the handle artwork visible but hides the contrast between the two patterns. For someone who values that contrast, it is worth planning space for the entire outline.
A fitted case needs more than enough length. Check the maximum width of the blade and the widest part of the handle, particularly if the case has a narrow recess intended for a slimmer knife. If you want to place the tan sheath alongside it, measure that item separately. Its extended loop takes up more space than the sheath body alone.
It is also worth establishing whether the photograph represents the exact knife being supplied or a sample of the design. That matters most if a particular arrangement of red lines or gray blade waves is what attracted you. A current image of the available piece is the clearest way to settle that detail.
Choosing it as a gift
A specific design preference makes a better reason for choosing a knife than a broad label such as “gift for an outdoorsman.” Here, the relevant preferences are easy to identify. Does the recipient like bold geometric handles? Do they collect fixed blades with patterned faces? Do they prefer a smooth curved edge over a hooked or serrated profile? If so, this knife offers recognizable features to match those interests.
For an adult collector who displays knives, the visual details may be enough to narrow the choice. Someone who collects by maker, steel grade, or manufacturing process will need more information. No brand, model number, country of origin, or steel designation is readable in the photograph. The blade pattern should not stand in for documentation of any of those qualities.
If presentation is part of the gift, check the package separately. The image shows the knife and sheath, but it does not show a box, stand, care card, personalization, or engraving. Those extras should only influence the decision once the seller confirms them. The strongest gift appeal here is the knife’s actual design: red peaks across black, pale circular pins, and flowing gray lines on the blade.
Measurements that matter for practical use
For a buyer considering the knife for outdoor use, useful specifications include blade length, overall length, blade thickness, handle thickness, weight, and the maker’s intended applications. None can be measured reliably from the photograph. The sheath is not a dependable scale reference because its dimensions are also unknown.
The length of the usable edge may differ from a measurement taken along the spine or from the heel to the point in a straight line. If you are comparing two products, ask how the seller measured each. This is particularly useful with a curved belly, where different measurement methods can give different impressions of how much edge is available.
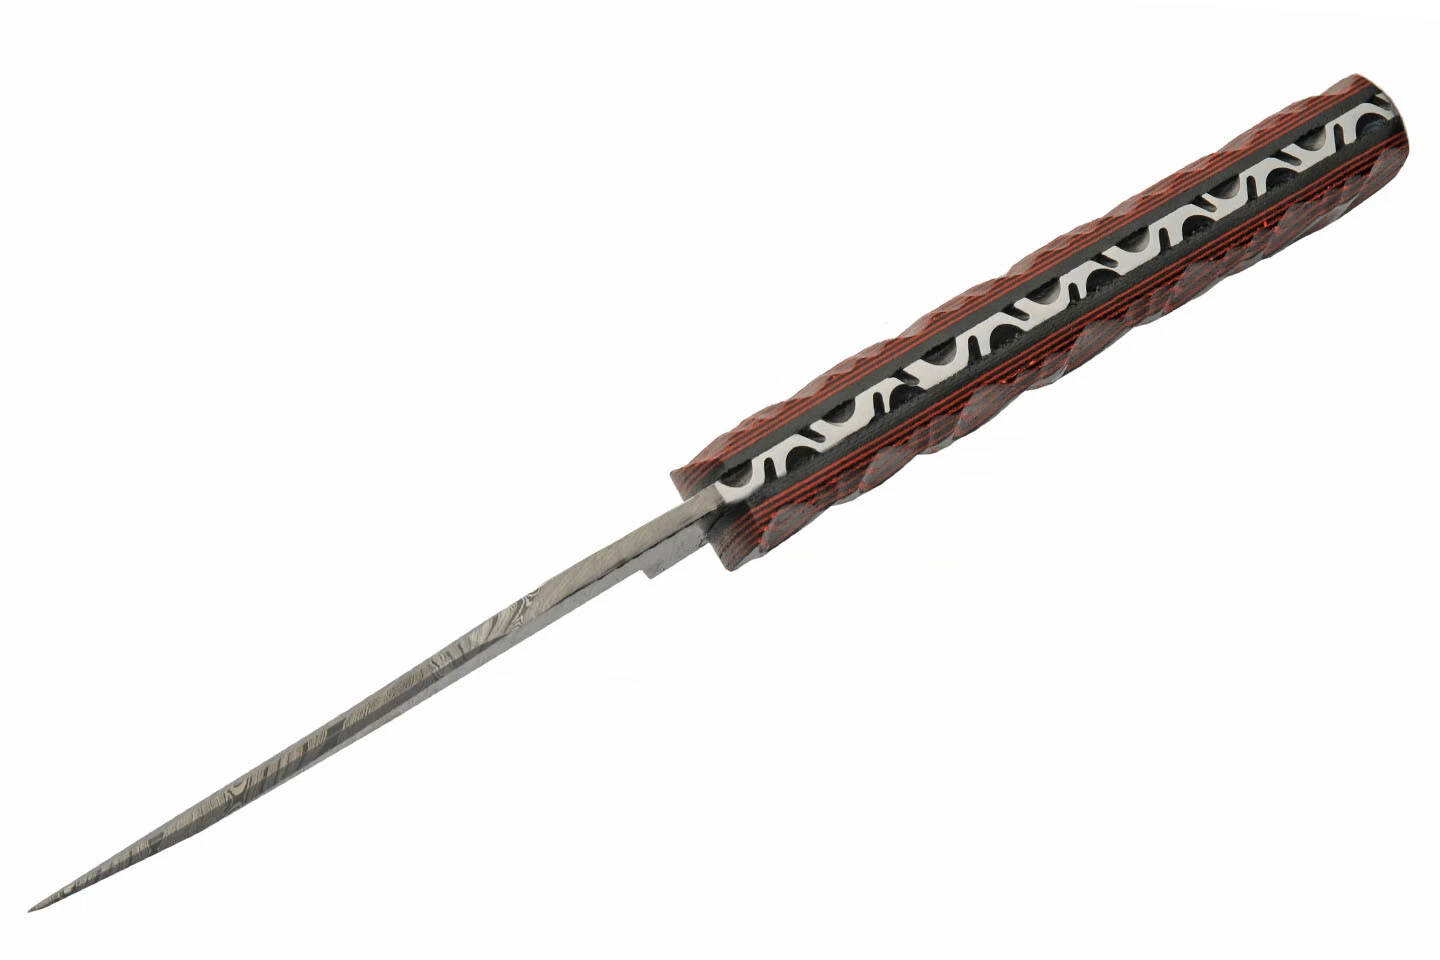
For the handle, check the distance from the front recess to the rear as well as its maximum thickness. The side view shows the contours but not the cross-section. A grip that looks slim from the side may feel substantial in the hand, and a prominent front recess may suit some hands better than others. Those are fit considerations, not qualities a photograph can verify.
Steel grade and supplied edge condition are more important than decorative lines when judging suitability for a particular task. There is no verified hardness rating, toughness test, edge-retention figure, or corrosion-resistance specification for this item. The knife can be identified confidently as a patterned fixed blade without promising performance that the available evidence does not support.
Materials, finish, and care information
The pattern on the blade and the color boundaries on the handle are the surfaces buyers are most likely to want to preserve. The appropriate care routine depends on what those surfaces actually are. A polished patterned blade, an etched surface, and a coated finish may call for different treatment. The same is true of natural, laminated, and synthetic handle materials.
No material-specific care instructions have been verified for this model. Before using a polish, abrasive, solvent, or conditioning product, obtain the seller’s guidance for the blade, grip, and pictured sheath separately. A product intended for the sheath may not be appropriate for the handle, even when both appear smooth in a photograph.
If you are comparing versions, ask whether the pattern is consistent across the batch and whether the seller can show the reverse face. A second view would help establish how the red design continues around the handle and whether the blade pattern looks similar on both sides. A spine view would be more informative than another face-on photograph for assessing thickness and construction.
The buying decision ultimately rests on a few specific details: a red-on-black zigzag grip, three simple pins, a defined front recess, and a gray patterned blade with a continuous curved edge. If those are the features you want in a fixed blade, choose this design and confirm the dimensions, material specification, and sheath contents that matter to your purchase.









Reviews
There are no reviews yet.